The Internet is the best part of any device. Some prefer to have wi-fi for stronger and better connectivity. While others prefer mobile data for accessible use anywhere they like. But wouldn’t that be great if you could have a strong and powerful connection like wi-fi which is accessible? That’s when portable/wireless dongle or router comes into play. This article will focus on the complete guide on Reliance wi-pod configuration.
See also: PS4 IP Address Setup Complete Guide (2024)
How to Setup Reliance wi-fi pod
Reliance wi-pod is a portable, wireless router to access the internet wherever you go. Since it is a wireless router, you do not get news to set up. But you need to activate your router for Reliance Wi-pod configuration. 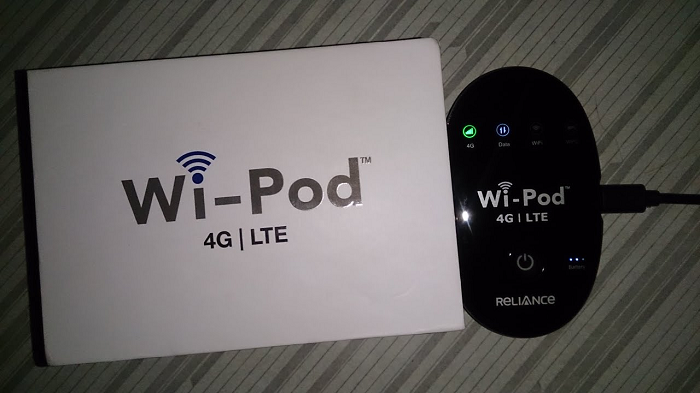
For that, contact your network service provider and understand all the deals on the router. Give all the documents; it will take 24 hours to configure and activate your Wi-pod. After 24 hours, you can turn on your dongle to use.
See also: Jio Router Login Guide | How To Login
Steps for Reliance Wi-pod Configuration
Reliance Wi-pod configuration steps are to be used when you first log in to your dongle. After that, you can just turn on your Wi-pod, which will automatically connect to your device.
- First, turn on your dongle with the power button.
- Open the web browser from your device.
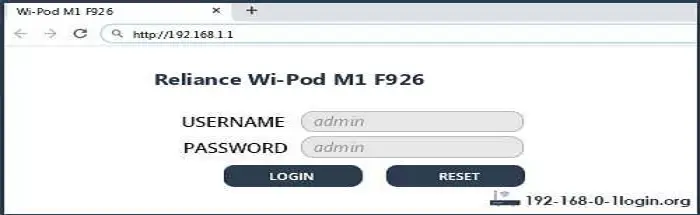
- Search 192.168.1.1 in the address bar. Read this article, if you want to know about 192.168.0.227 Admin, Username And Password.
- Reliance’s user interface will open with the two dialogue boxes.
- Type “admin in the username. Reliance Wi-pod default password is also “admin”.
- Click on the “Login”.
See also: DHCP Lease Time | What Is It And What Should I Set It To?
How to Access Reliance Wi-pod Admin page
Here’s what you can do to access Reliance Wi-pod settings or the admin page.
- Turn on your Reliance wi-pod.
- Open the web browser and search the default IP 192.168.1.1 in the search bar.
- Enter the default username and password in the respective boxes.
- Now you can change the settings after the Reliance Wi-pod configuration.
- This page is also known as the Reliance home index or home screen.
See also: What is PathPing? What Can You Do With It?
How to Connect Reliance Wi-pod
Here’s how to connect Reliance Wi-pod to your device.
- Turn on your router and turn on the wi-fi option on your phone, computer, or laptop.
- Find your wi-pod name.
- Enter the wi-fi password and connect to your wi-pod.
See also: How to Setup Unifi Guest Network | Complete Guide
How to change the wi-fi name
You can change the name of your wifi with these easy steps.
- Turn on your router.
- Login to the router with default details.
- Connect to Reliance wi-pod with your phone or computer.
- Open the web browser and search 192.168.225.1 in the address bar.
- It will take you to the login interface of your router.
- Enter your default login information.
- Change the wi-fi name to the “Network” section and select “WiFi configuration”.
- Click on the “Network name” to change your network’s name and save the changes.
See also: MTN Hynetflex login | Hynetflex account login and password
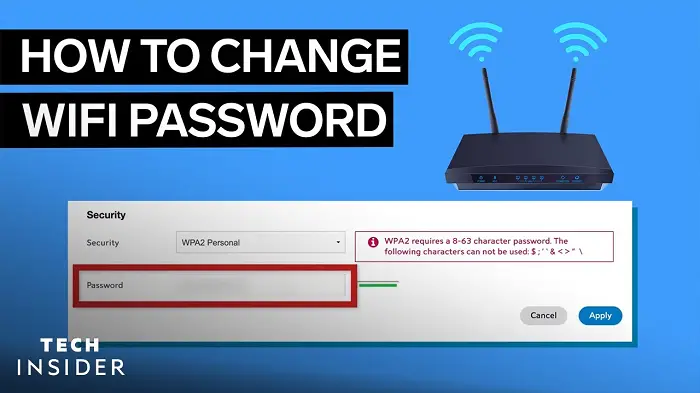
How to change the wi-fi password
After the Reliance wi-pod configuration, you can move on to changing the password of your wi-pod.
- To do that, turn on your pod with the power button.
- You can log in with your default credential given at the back of the router box.
- Connect to Reliance wi-pod with your phone or computer.
- Open the web browser and search 192.168.225.1 in the address bar.
- It will take you to the login interface of your router.
- Enter your default login information.
- Change the password to the “Network” section and select “WiFi configuration”.
- From here, you can change your password to your liking.
See also: Motorola Modem Login I A Complete Guide For You
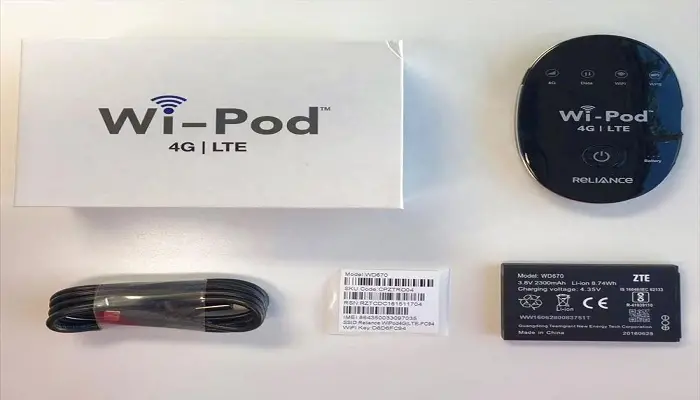
Usually, the default login credentials are given at the back of the packaging. After the configuration, you can change the ID and password.
- Turn on your Wi-pod and connect to it via a phone or computer.
- Search the 192.168.225.1 IP address and log in to your router.
- To change all the login details, go to “Network” and select “Account Management”.
- From here, you can change the username and password of Reliance Wi-pod.
See also: Technicolor CGM4231MDC Login Guide [2024]
How to reset your Reliance Wi-pod
There are two ways to reset your Reliance wi-pod.
Way 1
This is an easy method to reset. Here you can press the reset button on the wi-pod. You can locate this button on the side or on the back. 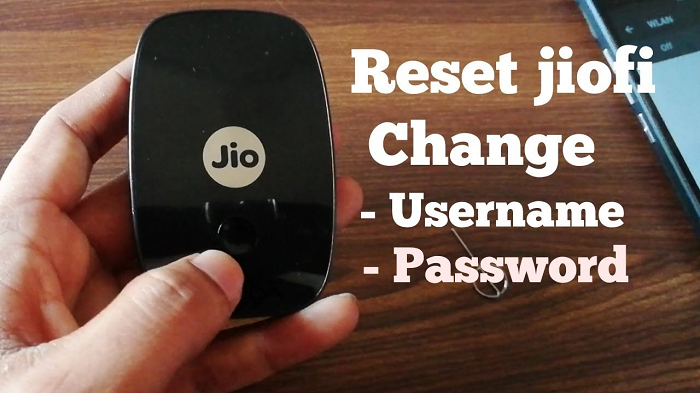 Press it for a few seconds and wait for it to reboot.
Way 2
The second method is done via the web interface. Login to the router and search 192.168.5.1 in the browser. Sign in to your router and go to “Settings.” Go to “General” and select “Software and reset.”
See also: Mercusys MW305r Login I A Complete Guide For You
How to Reboot Reliance Wi-pod
You can reboot your device to fix the bugs and avoid slow internet. To reboot the Wi-pod, press the power button and wait for it to shut down. 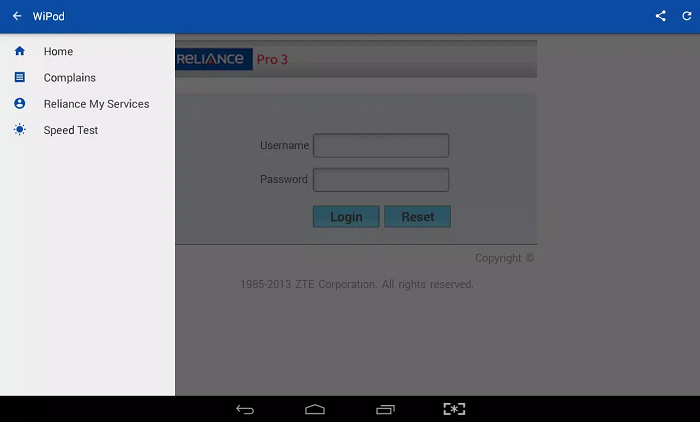 Now press the power button again. It will restart your router and be ready for faster and better use.
See also: What Are The Different Types Of Routers?
How to Update Reliance Wi-pod
Usually, routers auto-update themselves. But if your Wi-pod cannot do that, follow these steps.
It is better to turn on automatic updates on your router. Log in to your Wi-pod and, in settings, search the “Automatic Updates” section. Enable this auto-update option to keep your Wi-pod up-to-date.
Default Details
Here are the default details for Reliance Wi-pod configuration.
- IP address: 192.168.1.1
- Username: admin
- Password: admin
See also: Huawei Router IP Panel Guide
Frequently Asked Questions
My login credentials do not work, what should I do?
If your login credentials do not work, try to check the username and password you have entered. If the entered userID and password are correct, forget and reset the password. Note this password down, so you do not forget it.
What is the default IP address for Reliance wi-pod configuration?
The default IP address for the Reliance wi-pod configuration is 192.168.1.1
What is the default username and password for wi-pod?
The default username and password is “admin”. Add that in both fields.
What is the ideal place to set Reliance wi-pod?
To get the best network and connection, place your Reliance wi-pod at a perfect height. Somewhere it is not blocked by a wall or curtain. Place it in an open place to avoid slow connectivity.
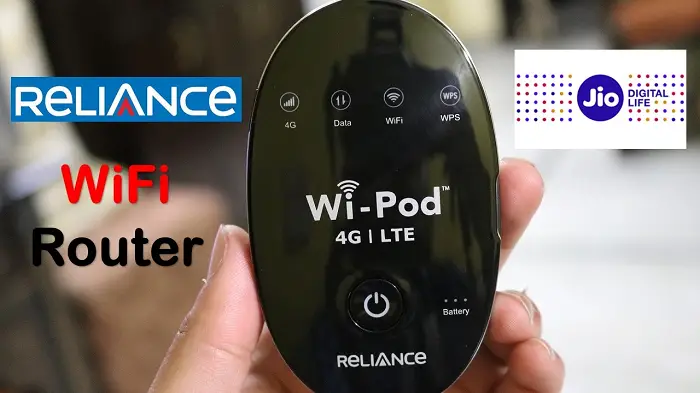
What are the LED lights on the Reliance wi-pod?
Well, the first button is the power button. 3 poll lights beside the power button suggest battery status. Four lights on top of the power button are for signal, connection status, wifi indicator, and WPS.
Conclusion
To conclude, our article covered all the information about the Reliance wi-pod and how to configure and make changes to your wireless router for easy and better use.
See also: How to Connect to the Ethernet? The Wired Way!
Hello people. I have started this website for all of you who have troubles while logging in into their router. I personally have faced a lot of issues and that is the sole motivation for starting this. Hope it helps you guys. Cheers!
