As technology advances faster, safety is also becoming our top priority. Thus, Aiwit doorbells, which are wireless doorbells, have recently become popular among various security appliances available in the market. Aiwit doorbells are majorly operated using wifi. Therefore, the question that often pops up is how to change wifi on the Aiwit doorbell.
You must follow certain steps to change the wifi on the Aiwit Doorbell. These steps involve accessing the Aiwit Doorbell settings, checking for the wifi configuration option, choosing the new preferred wifi network, entering the new wifi password, ensuring the connection of the Aiwit doorbell to the new wifi network, and verifying the recent wifi change.
This article aims to show how to change Wi-Fi on the Aiwit Doorbell effortlessly without unnecessary steps. Thus, its target is to provide the readers with a detailed explanation of each step required to achieve excellent wifi connectivity for the Aiwit Doorbell. It will also give the readers a solution in case of any unexpected issue. This will thus help the readers avoid the irrelevant steps and change the wifi independently without additional help.
Six Easy Steps To Change Wifi On Aiwit Doorbell
This will ensure a smooth wifi setup with minimum effort and fewer steps.
Step 1: Accessing The Aiwit Doorbell Setting
This step can be divided into various substeps. First, you need to download the Aiwit app to access its features. Now, locate the doorbell requiring change and click on its icon. Right after this, go to the settings menu to customize the settings according to your demand.

See Here: Download the Aiwit app
Step 2: Finding The wifi Configuration Option
After you enter the settings menu, figure out the option that will directly lead to the wifi configuration settings. This option may be available in the form of various other keywords.

Step 3: Selecting The Wifi Network.
Now, you can view a list of various wifi networks available in our neighborhood. 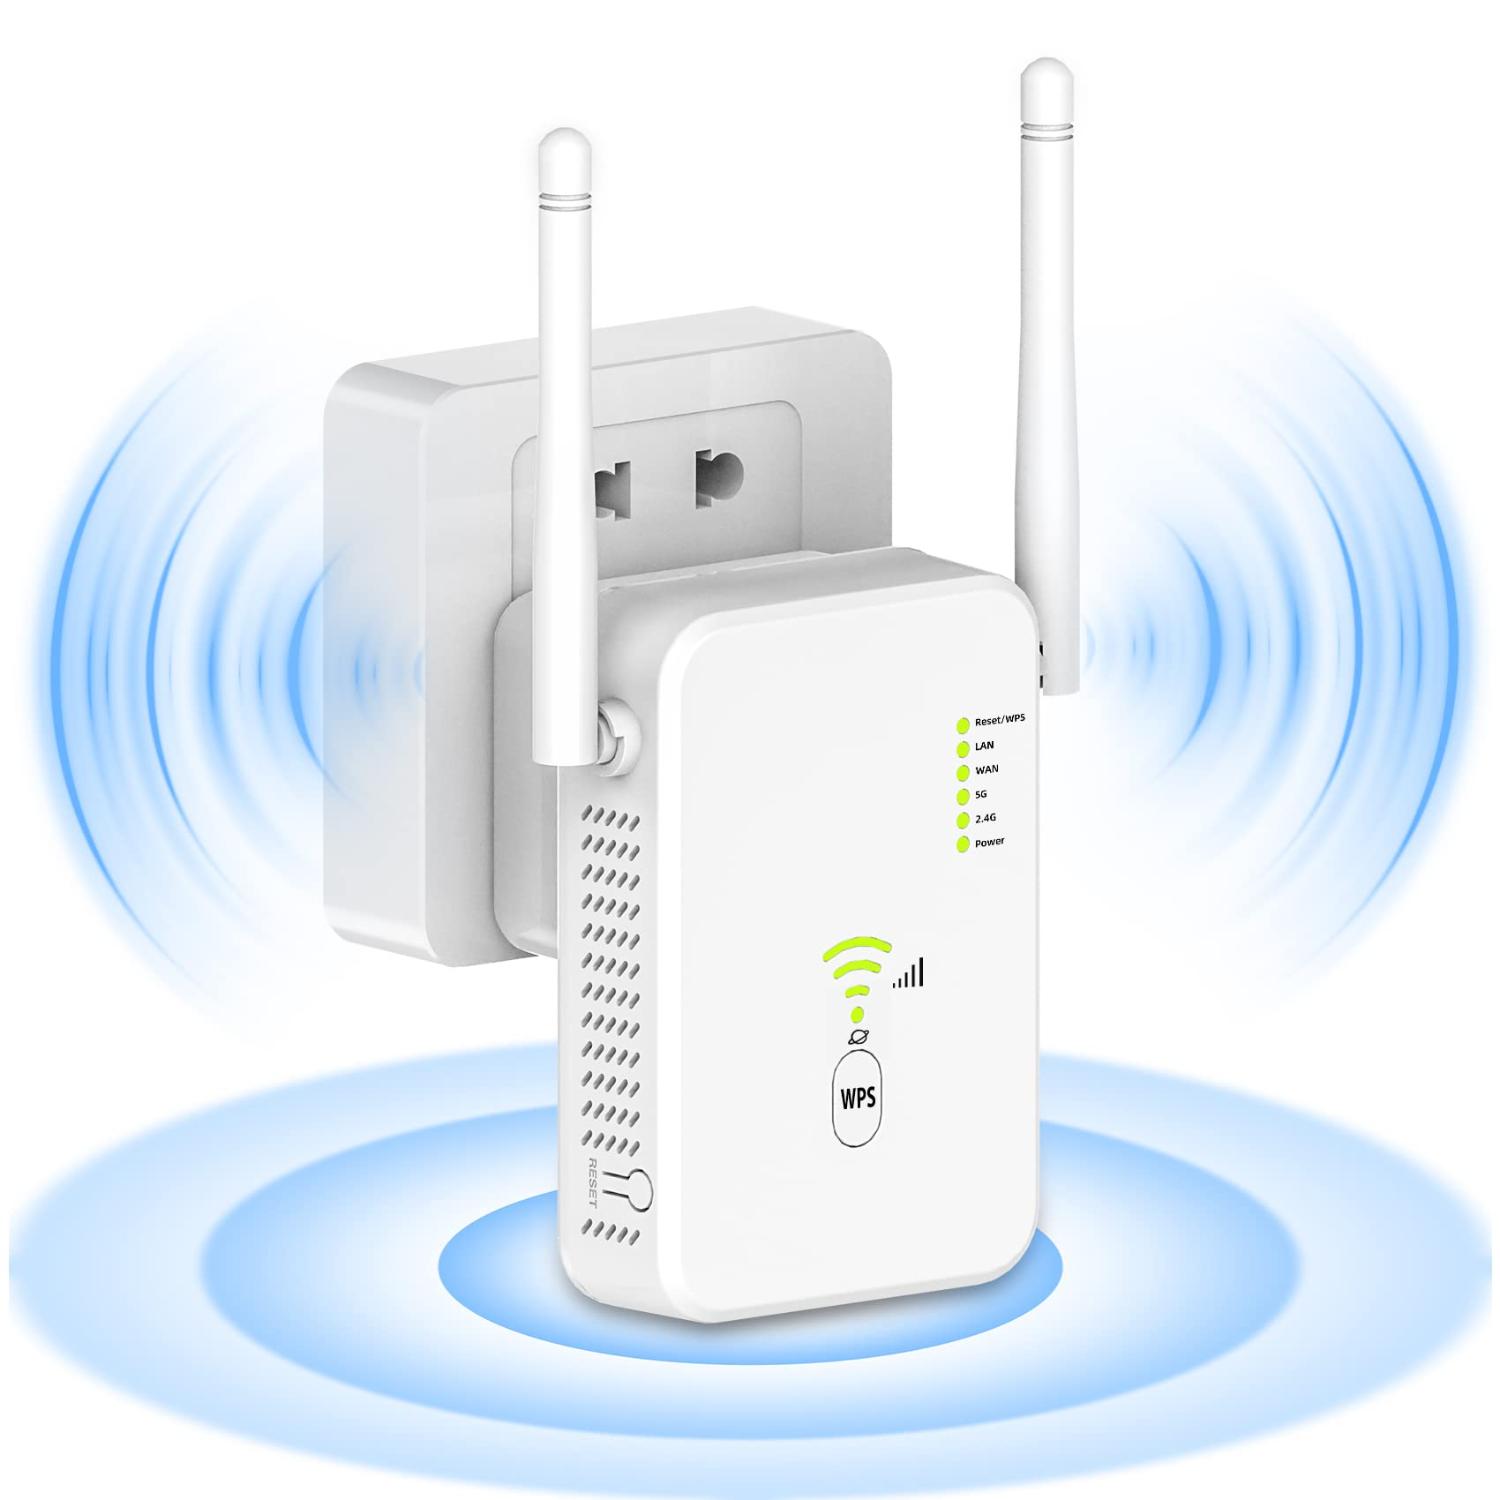 Now, choose the new wifi network you want to connect to. This will lead us to rebuild the wifi connectivity with the Aiwit doorbell.
Step 4: Enter The New Wifi Password.
After selecting your desired wifi network, generate a new password that will be reliable in the long run.  This password should contain a mix of uppercase characters, lowercase characters, and numbers.
Step 5: Connect The Aiwit Doorbell To The New Wifi Network.
This is a little time-consuming process. So, after entering the password, you must press enter to start the connection process. This will effectively connect the Aiwit doorbell to the latest wifi network.  This connection is essential for a smooth operation.
Step 6: Verifying The Successful Wifi Change.
After the connection is established, the screen will instantly show a confirmation text on the device. If you do not receive the message, you must redo the procedure. Thus, the confirmation message is essential to ensure a successful wifi change.
Thus, these steps elaborate on how to change wifi on the Aiwit doorbell quickly. So, in technical issues where the Wi-Fi is not working, restarting guides, which have been used in the AT&T Wi-Fi Not Working Wi-Fi guide, can help us continue the device to start the connection process afresh.
Why Does Aiwit Doorbell Not Connect To Wifi?
There can be several-minute issues that block the smooth wifi change.
These reasons may range from invalid credentials to weak signal strength. So, sometimes, entering the wrong password or selecting the incorrect wifi network can hamper the process. You should keep checking that you are following all the password generation rules.
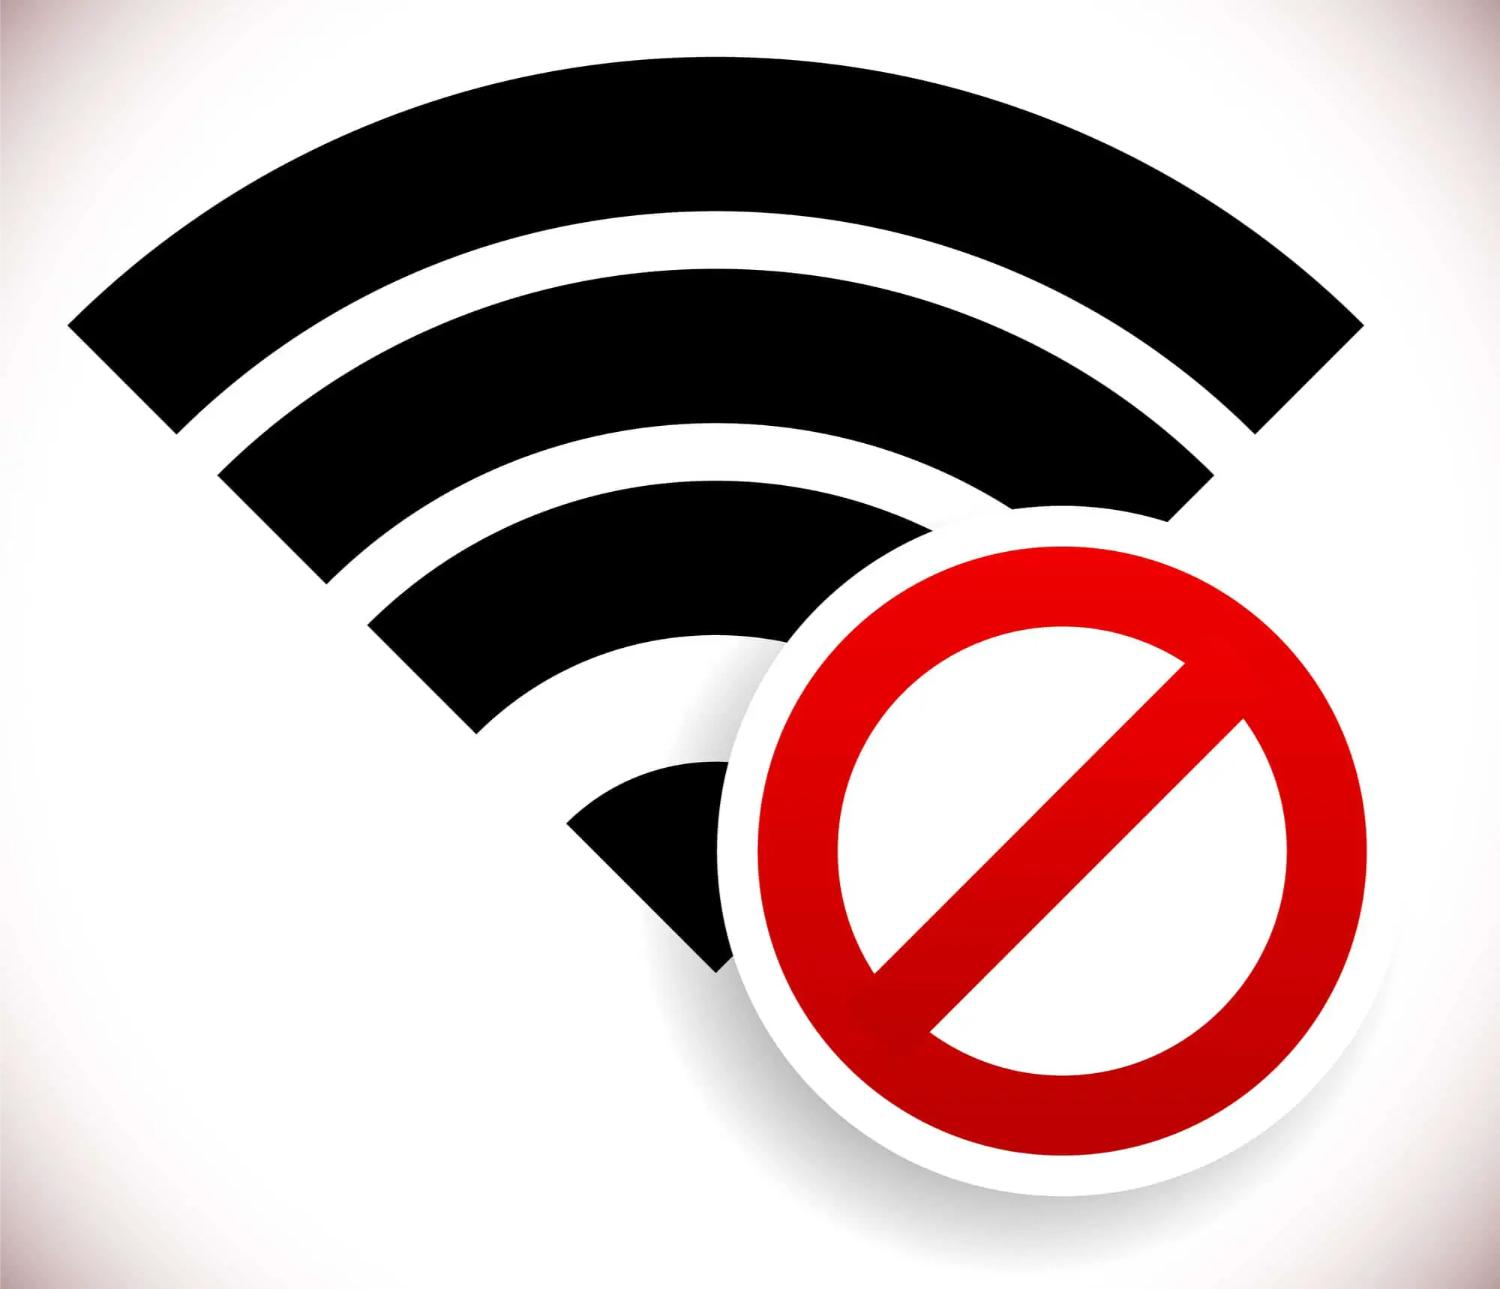
This troubleshooting issue may also emerge from a weak signal strength. Sometimes, the new wifi network you want to connect to may be outside your vicinity. But sometimes, even when it is in the vicinity, its signal strength may not be strong enough.
If this issue persists, use a wifi extender to enlarge the network range. In case of such an issue, knowing how to prepare to deal with such inconveniences is very necessary. Thus, tutorials on other devices, like changing wifi on IRobot, will help the readers prepare to combat unexpected technical issues when attempting to change wifi on similar devices.
Sometimes, restarting the app can solve this problem. Regularly updating the app also helps to avoid these types of issues. Thus, this part of the article shares tips on changing wifi on the Aiwit doorbell in case of unexpected errors.
Having a strong network connection is a necessity when it comes to establishing a strong connectivity. For this, first, you must know how to log in to a wifi router effortlessly. So, it is advisable to always opt for wifi networks that offer a login guide like the Tenda wifi login guide that explains how to create a strong base of network connectivity to avoid any future connectivity issues.
Thus, this knowledge is essential for readers to explore how to change Wi-Fi on the Aiwit Doorbell.
See Also: How to connect to wifi extender to router without WPS
How To Reset Aiwit Video Doorbell?
To troubleshoot the Aiwit doorbell, sometimes you may be required to reset the Aiwit video doorbell.
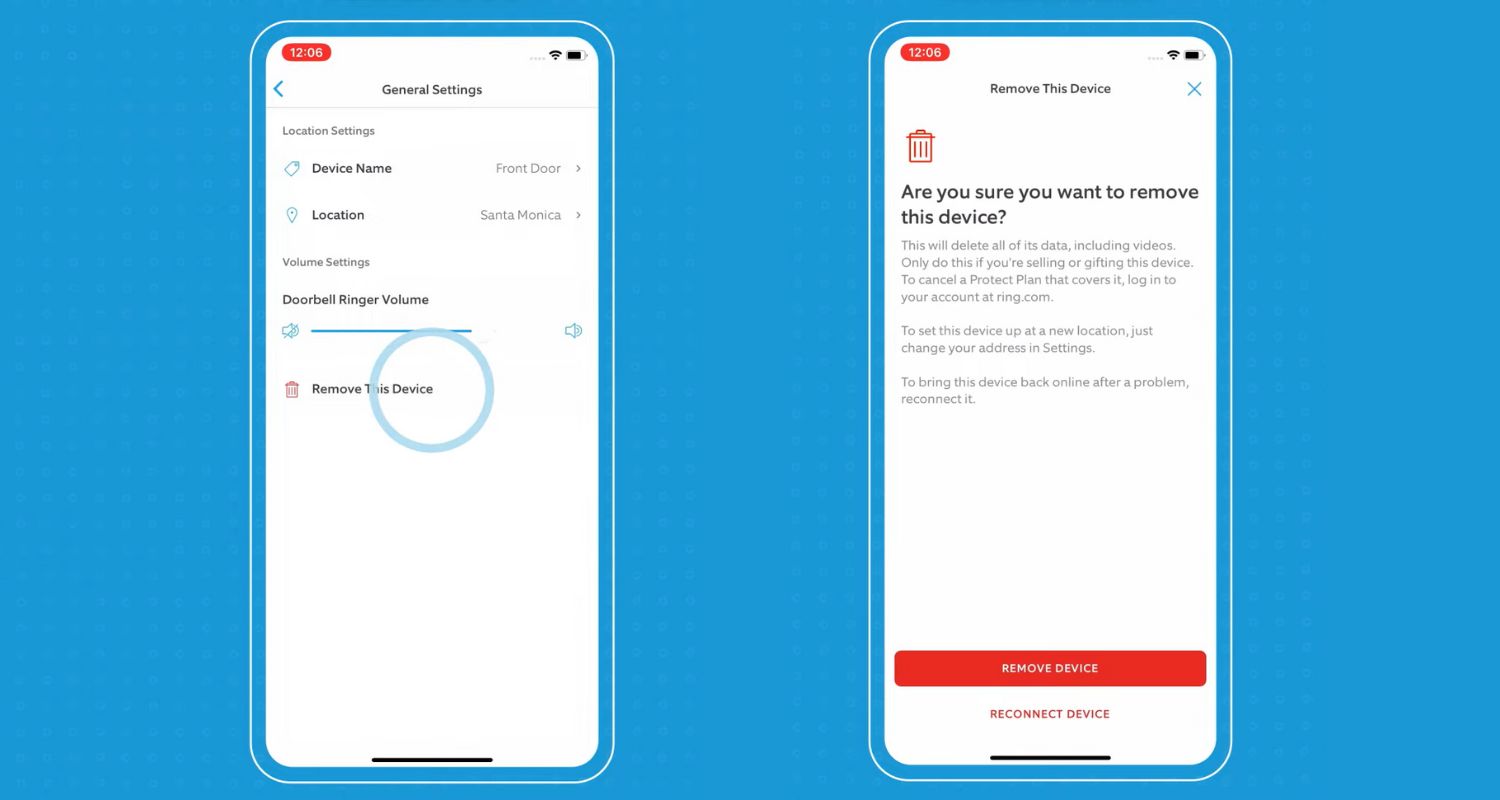
Thus, resetting the video doorbell will erase the existing settings or wifi connections, cleaning the device for a new setup. You need to follow specific steps to reset the Aiwit doorbell correctly. This can be easily done through our respective smartphones.
- Open the Aiwit app on your device. In the app, select the wifi network that requires modifications.
- Exercise caution, as this process will erase a significant amount of existing data. Click on the settings option directly within the app.
- Choose the “Device Settings’‘ option from the settings menu. Scroll down to find the “Advanced” option.
- In the advanced settings, look for and click “Factory Reset.” Confirm the action to proceed with the factory reset of the device. After tapping the reset button, the device will confirm the resetting process.
After resetting, the device can likewise connect with a new wifi network. Changing to a new wifi connection requires guidance. Therefore, knowing how to change Roomba wifi can help you gain expertise in changing wifi on devices with the same operating system.
See Also: How to Change Roomba WiFi: Quick and Easy Setup
How To Reset The Aiwit Battery Camera
The process of resetting the Aiwit battery camera is a simple procedure,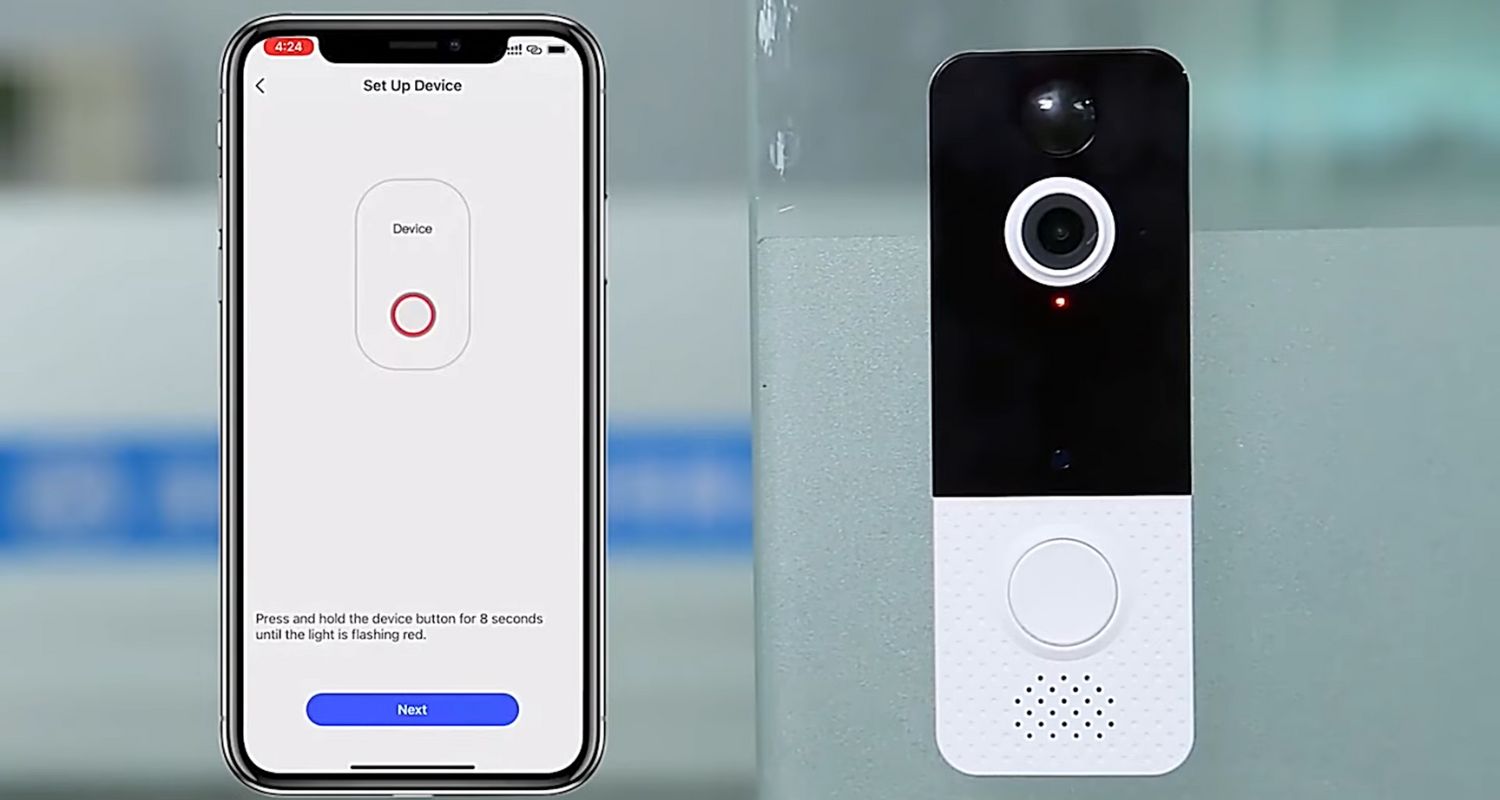
- First, open the Aiwit app on your device. Select the specific camera you want to reset within the app.
- Navigate to the settings option in the Aiwit app. Locate and click on the “device settings” within the app.
- Scroll down in the device settings until you find the “advanced” option. Within the advanced settings, click on “factory reset.”
- Confirm the action to proceed with the factory reset of the Aiwit battery camera. After resetting the camera, reconfigure the settings as needed.
Be mindful that the reset process will erase previous configurations and recording settings. Also, resetting the battery camera is essential in connecting the Aiwit doorbell to the wifi network, as it clears previous connections and motion detection configurations.
How Do You Reset The Aiwit Doorbell Mini Camera?
This process is very similar to resetting the Aiwit battery camera.
- Open the Aiwit app on your device.
- Navigate to “Aiwit Doorbell Mini” within the app.
- Click on the settings option in the Aiwit Doorbell Mini section.
- Select the “device settings” button from the settings menu.
- Tap the “advanced” option in the device settings.
- Within the advanced settings, locate and click on “Factory Reset.”
- Confirm the reset action to initiate the reset process for the Doorbell Mini camera.
This will clean up the previous settings, enhancing performance and motion detection activities.
FAQ
How do I change my Wifi doorbell?
To change the WIFI doorbell, first put the bell in settings mode by pressing the button at the back for a few seconds. Then start the wifi configuration in your phone, automatically detecting the doorbell. Select the wifi network and then enter the correct password, and wait till the connecting process is complete.
How do I reset my ring doorbell to a new wifi network
For this, open the app and select the doorbell you want to reset. Now select device health and then click on Change network. Then, follow certain onscreen instructions to reset the device successfully.
How do I change the wifi on my doorbell?
Doorbells that can be connected to wifi are majorly called Aiwit doorbells. You must access the app, search for wifi configuration, select the new network, enter the password, and connect.
How do I connect my Aiwit doorbell to Wi-Fi?
To connect the Aiwit doorbell, Open the Aiwit app, go to settings, and then wifi configuration. Select the wifi you want to connect to, Type the password, and connect. If troubleshooting issues occur, tricks used in the Xfinity wifi Not Working wifi guide can help us discover quick fixes to troublesome network problems when our wifi is not working
Conclusion
So, Now you know how to change wifi on Aiwit Doorbell and connect Aiwit Doorbell to wifi using certain simple tips and tricks to unlock its full potential. Aiwit Doorbells aims to make everyone’s life easier and more secure as it prioritizes safety over everything.
It allows us to visually see and communicate with the visitors before entering to avoid any uncanny intruders from entering. So, it will help us to rebuild a world of excellent connectivity and seamless operation. With this wifi connection, you can easily inspect our homes’ safety, enhancing performance and security.
On this account, you also learn that routers with good network connectivity, like Netgear Nighthawk X6 AC3200, can make the process much easier. Thus, Aiwit Doorbells will help this generation enter an era of peace and assured safety.

Senior Editor, RouterLogin.one. 15,000 cat photos and counting. Also, have been testing and writing about tech since the dawn of time.
