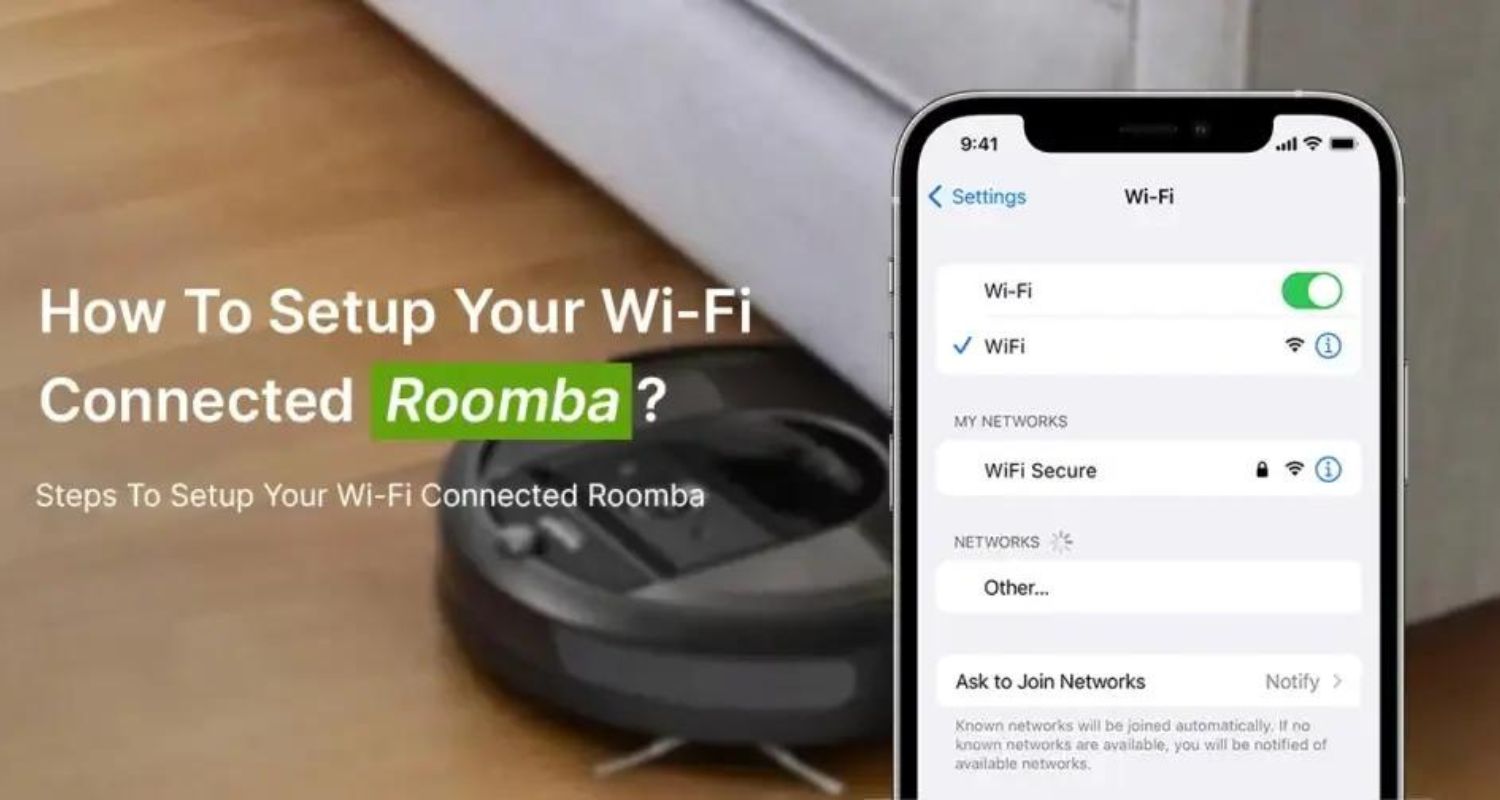
How do you change your Roomba’s WiFi network settings or ensure it stays connected? Here is a quick overview of how to change WiFi on irobot so it can continue cleaning smoothly.
To connect your Roomba vacuum to a new WiFi, press the clean button to power on, double tap the WiFi logo to reset, open the iRobot Home app, select new network and enter password, name vacuum, register account, map rooms, touch Done Mapping, test cleaning on new network. Resetting and reconnecting only takes a few quick steps. To know more, keep on reading.
Connecting your Roomba vacuum cleaner to your home’s WiFi network has several benefits. It allows you to control your Roomba from a mobile app. The app lets you start cleaning cycles, see cleaning history, and get notifications when the job is done. WiFi also enables remote voice control with smart speakers and lets you keep your Roomba’s software up to date for new features. Taking a few minutes to hook up the WiFi is well worth it for hands-free cleaning convenience. Let us learn more about how to change WiFi on iobot.
Preparation Before Connecting
Before attempting how to connect iRobot to WiFi, you’ll want to prepare a couple of things. First, make sure your Roomba’s battery is fully charged. You don’t want it to run out of juice midway through the setup process. Take your Roomba’s charging dock off the charger and press the clean button to power it on.
The other thing you’ll need ready is your WiFi network name and password. Having these handy will make the setup go much smoother. If you need help finding them, log into your router’s admin page using a web browser on your computer or mobile device.
Most routers list the network name (SSID) and password on the main status page. You can also usually find the info printed on a sticker on the back or bottom of your router.
It’s also good to position your Roomba relatively close to your wireless router during setup. It helps ensure a strong WiFi signal strength as the Roomba connects. Once setup is complete, you can use it anywhere in your home the WiFi reaches.
Taking a few minutes to gather these important details before beginning helps prevent frustration if you need to refer to them during the connection process or while you are changing Wi-Fi On Aiwit Doorbell or any other smart home device like changing wifi on Feit Electric app. Let us see the steps on how to connect Roomba to WiFi.
Steps to Connect Roomba to New WiFi
To know “how to change wifi on irobot”, here are the steps to connect your Roomba to a new WiFi network:
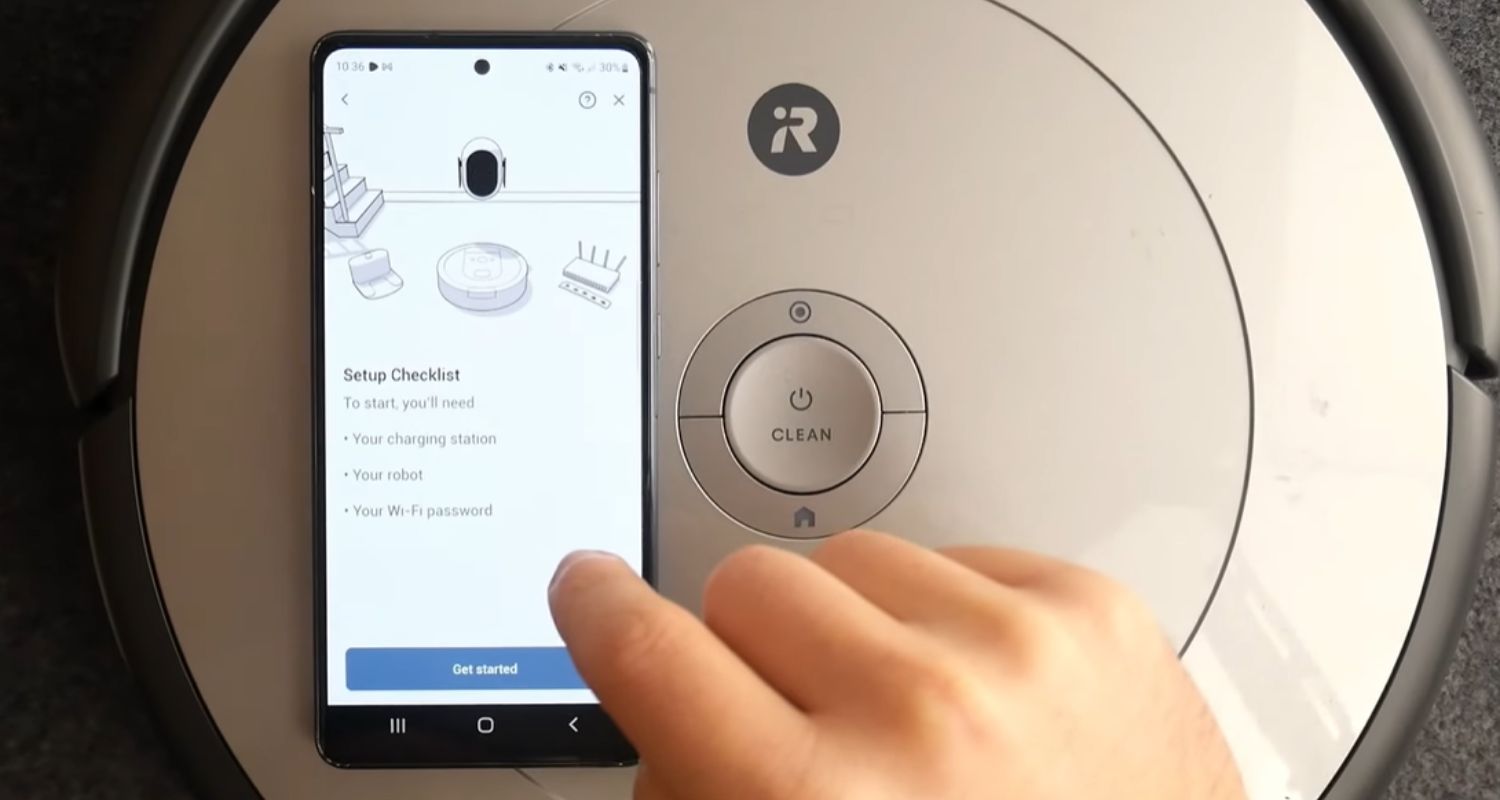
- Press the clean button to power on your Roomba. Make sure it is fully charged before starting. It is the first step to how to set up Roomba.
- Tap the WiFi logo sticker on the top of your Roomba. It will put it into app setup mode for 3 minutes.
- Open the iRobot Home app on your phone and tap “Set up a robot.” Select your Roomba model from the list.
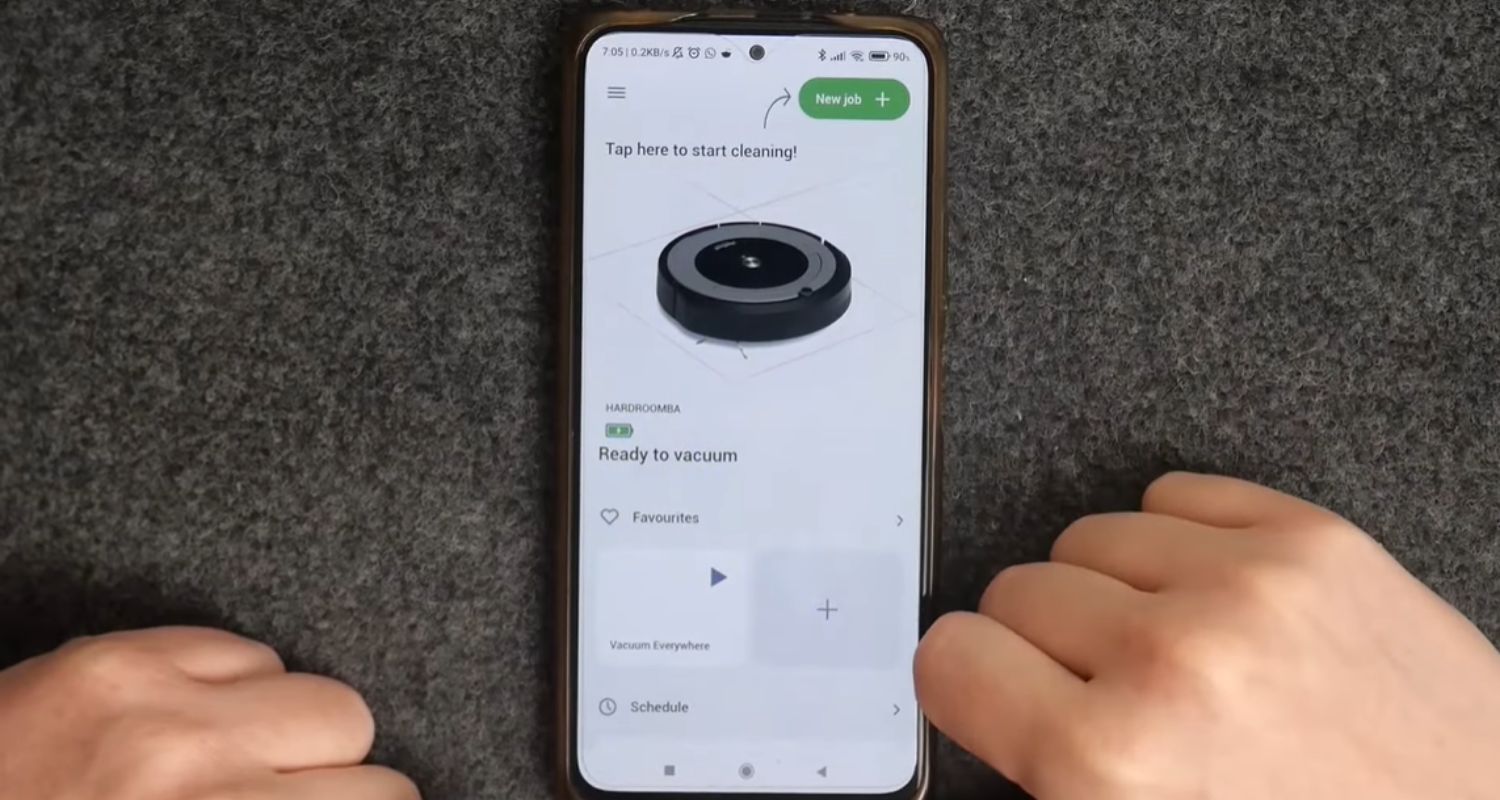
- Tap “Connect to WiFi” and select your WiFi network from the list of available options. Enter your network password if required. You can change your Roomba WiFi if needed.
- Once the Roomba is connected, name your robot and register your email with iRobot to set up your online account. It allows firmware updates.
- Your Roomba will map your home’s rooms, obstacles, and features. Touch “Done Mapping” once complete. You’re now ready to start cleaning!
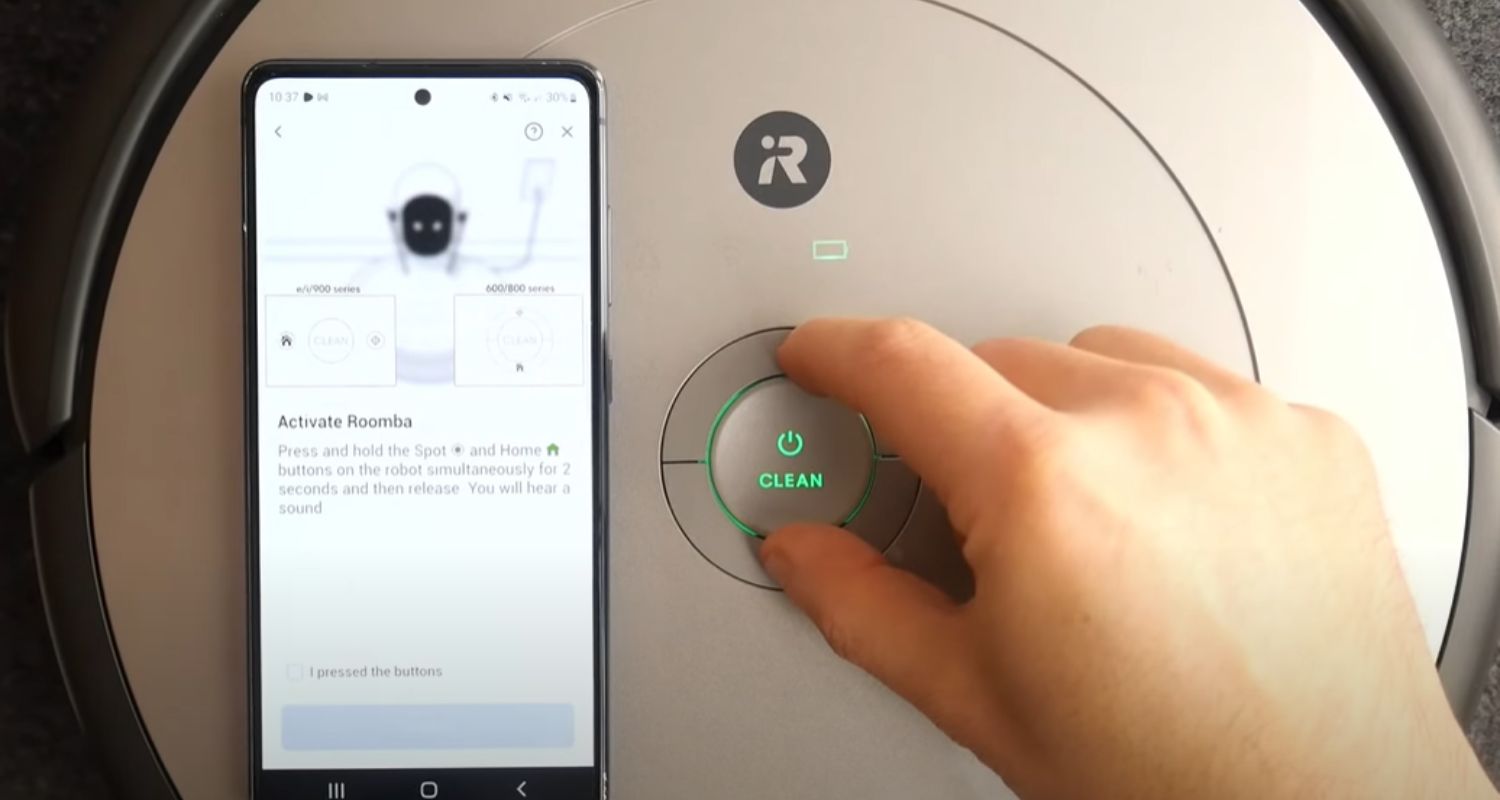
- To connect to a new WiFi network, press the clean button to power on your Roomba. Quickly press the WiFi logo twice to reset it. It takes it off the old network.
- Repeat steps 2 through 6 to connect to your new WiFi. Be sure to use the same iRobot Home app login details.
- Test that your Roomba runs cleaning cycles on the new network. Resetting and reconnecting only takes a few minutes.
Keeping your Roomba connected to WiFi simplifies cleaning through voice control and the app. This step-by-step guide ensures easy setup on Roomba change WiFi.
Common Issues When Connecting Roomba to WiFi
Here are some common issues people encounter when connecting their Roomba to WiFi, along with potential solutions:
One of the most frequent problems is when the Roomba can’t find the WiFi network. It usually means the network name needs to be entered correctly. Double-check that the SSID matches exactly what’s shown on your router. You may need to re-enter it.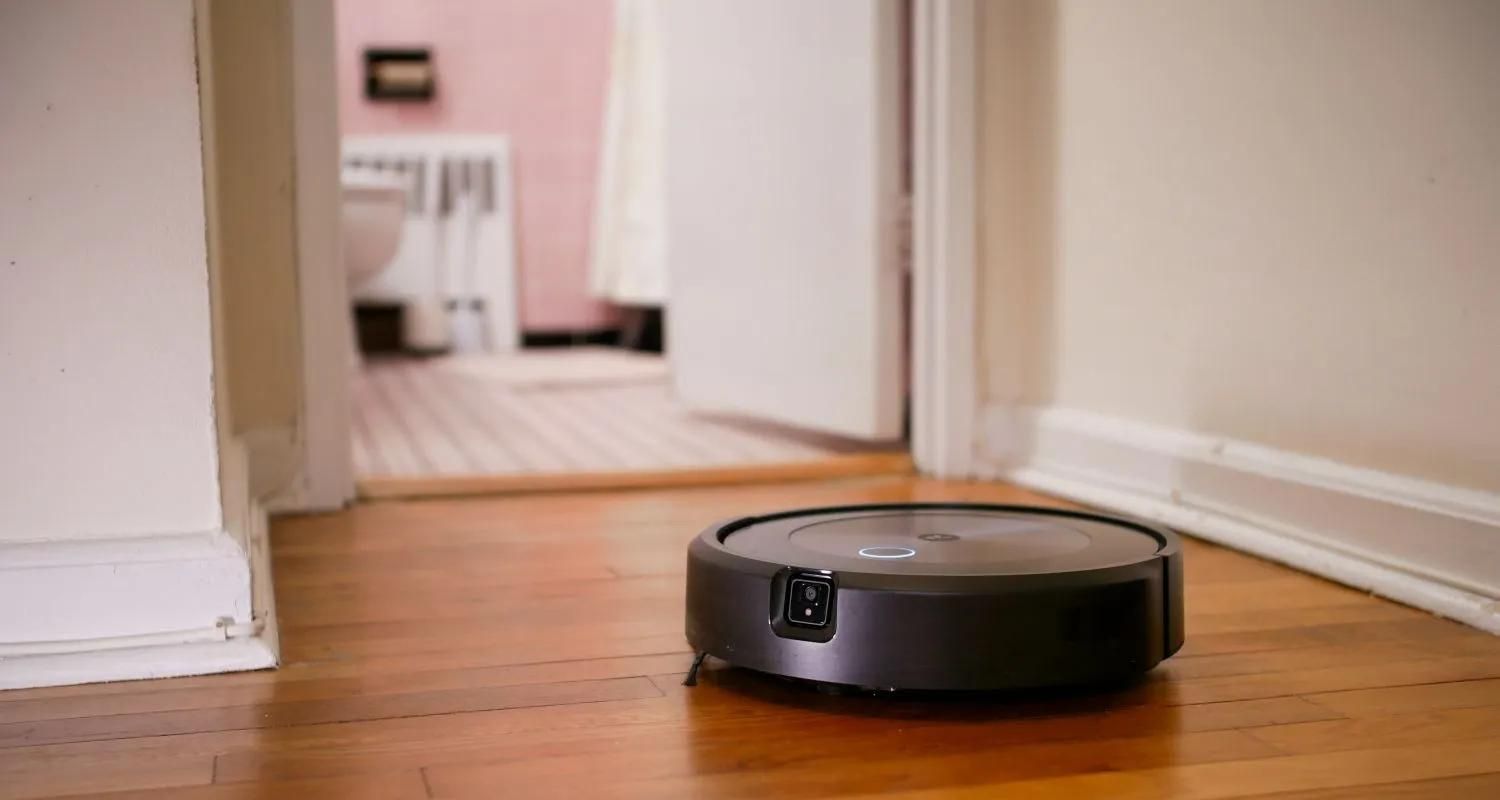
Weak signal strength can also cause connection failures. Make sure the Roomba is within range of the router during setup. Interference from thick walls or floors between them can negatively impact the signal.
Occasionally, issues arise from having multiple networks with similar or duplicate names. Be sure to pick the right one from the list. Renaming your network to something unique may help.
If the Roomba gets stuck “connecting” or keeps resetting, compatibility problems could exist between the router’s security settings and the vacuum. Try temporarily turning off the router’s WiFi security entirely.
The iRobot app logging in may fail if you use a WiFi network different from the one the Roomba first connected to. Resetting the Roomba often fixes app pairing errors.
With a bit of troubleshooting, these common glitches can be remedied. Contact iRobot support if problems persist after checking these potential solutions. So that is how to change WiFi on irobot.
Troubleshooting Connection Issues
If your Roomba stops connecting to WiFi or works intermittently, try resetting its wireless settings. Press and hold the Clean button for 10 seconds until the WiFi light flashes. It clears all network data. Then reconnect as usual. This could also work for when you want to change wifi on your Smart life or other home automation devices.
Check your router settings, too. Confirm that the wireless network is broadcast (SSID sharing), security is set to a basic mode like WPA/WPA2, and the password meets requirements. Unusual characters can prevent connection. Temporary disabling security and MAC address filtering while setting up may help.
Test the signal strength by taking your phone near the Roomba as it tries connecting. Low signal due to distance or obstacles is a common culprit. Move the Roomba closer to the router during setup.
Ensure only one device connects to WiFi simultaneously, as some networks can’t handle multiple connections simultaneously. Try a different wireless channel if you notice interference issues. Routers broadcast on channels 1-11; switching may clear noise.
Reset the iRobot Home app password if login fails. 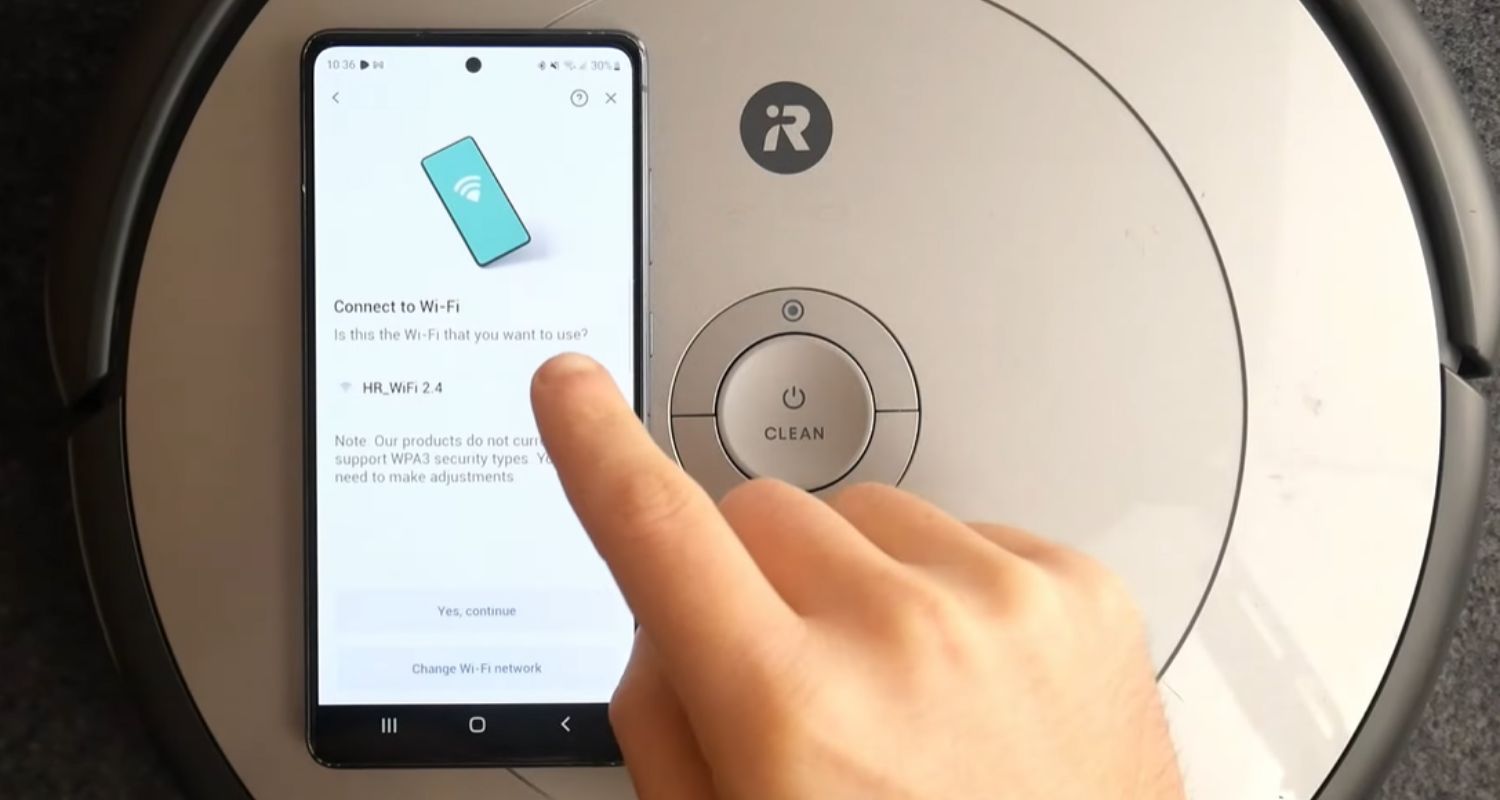 Log out fully and back in again with the correct credentials. Contact iRobot support if resetting and double-checking settings don’t solve the problem. They can help diagnose hardware, network configuration, or compatibility glitches over the phone.
With some trial and error, you should resolve intermittent connections. iRobot provides excellent customer care if remote troubleshooting doesn’t work.
Changing WiFi on Your Robot Vacuum
Here is how to change the WiFi network on your robot vacuum in simple, step-by-step terms:
Ever find that your robot vacuum isn’t connecting to your WiFi like it used to? Don’t stress – it’s an easy fix! Just follow these simple steps.
- First, ensure your vacuum is fully charged so it has enough power for the setup. Next, look for the WiFi button or icon on the vacuum. It’s usually located on the front or top. Press and hold this button until the vacuum blinks or makes a noise, signalling it’s in setup mode.
- Now, you’ll need your phone or tablet. Open your WiFi settings and connect to the network named on your vacuum; it’s typically the brand and model.
 Once connected, open the vacuum’s app. You may need to create an account if this is a new setup.
 - In the app, select “WiFi setup” or something similar. It will display the networks available. Select your home network from the list. The app will ask you to enter your network password if password-protected.
- After entering your password, the vacuum will attempt to connect. Give it a minute – it can sometimes take a bit to handshake.
 Once connected, the vacuum status light in the app should turn solid. So that is how you can go ahead on iRobot change WiFi.
You’re all set! Feel free to test it out with a quick clean. And from now on, your little robot friend will connect automatically whenever it’s time to tidy up. Easy as pie! So that is all in how to change WiFi on irobot.
FAQs
My Roomba won't connect to my WiFi automatically. How do I add it manually?
Press the 'Clean' button until the WiFi light flashes to pair your Roomba into pairing mode. Go to 'WiFi Devices' on your phone and select your Roomba from the list. Enter your WiFi password when prompted.
I have a Roomba i3/i7/j7 - how do I connect it?
Press the 'Clean' button to enter pairing mode until the WiFi lights flash. Download the iRobot Home App, create an account, and follow the on-screen prompts to connect your specific model to your network.
Can I connect multiple Roombas to one account?
Yes. You can control all your Roombas from one central account. Add each one during setup in the app. They'll automatically update when new features are released, too!
How do I change the WiFi network my Roomba connects to?
Put your Roomba in setup mode, go to the WiFi settings in the app, select your new network, and enter the password. Your Roomba will update the further info.
Conclusion
Well, folks, We hope these step-by-step guides and answers to common questions have helped simplify connecting your iRobot vacuum to WiFi. Whether setting up for the first time or changing networks, following the instructions carefully should ensure a smooth operation.
Feel free to refer back to this article if you need a refresher. As always, let me know if any other issues arise- we’re happy to help troubleshoot further. Wishing you all the best in vacuuming with this article on how to change WiFi on iRobot.
See Also: Tenda WIFI Login- An Easy And Complete Guide To Logging In
Hello people. I have started this website for all of you who have troubles while logging in into their router. I personally have faced a lot of issues and that is the sole motivation for starting this. Hope it helps you guys. Cheers!
